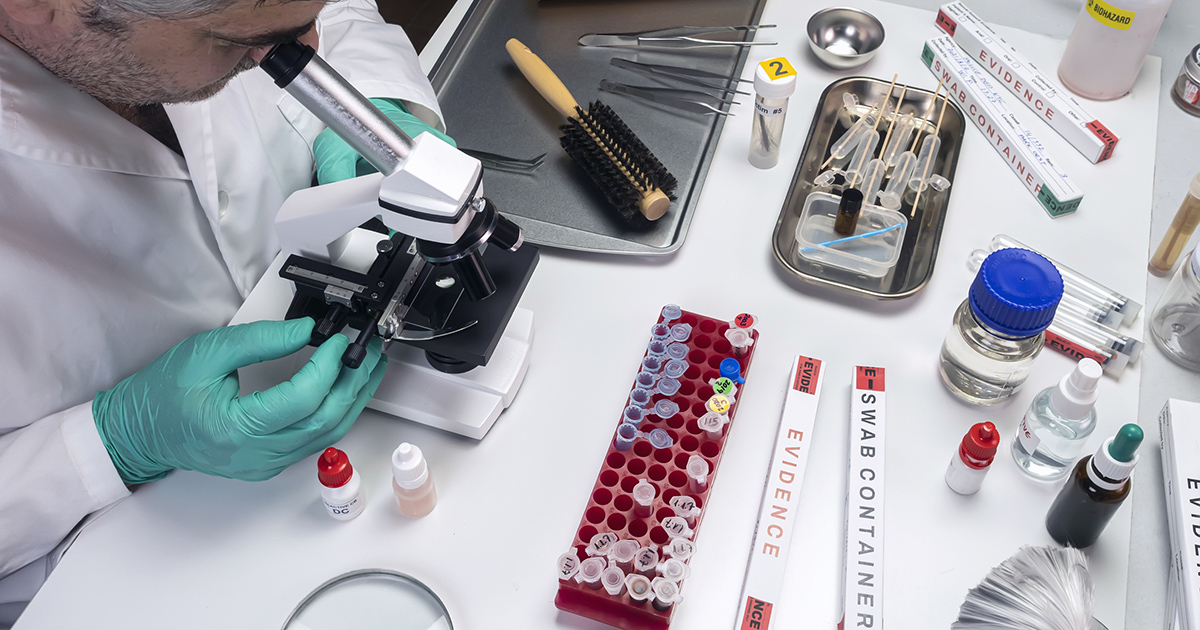
Evidence degradation can turn strong cases into complicated ones, especially when questions arise about storage conditions over time. The most reliable way to protect evidentiary value is to standardize storage practices, control environmental variables, document conditions continuously, and respond quickly to deviations. This article outlines practical, lab-friendly best practices for forensic evidence storage—covering packaging, segregation, cold chain management, continuous monitoring, and audit-ready documentation—so labs can reduce risk, minimize rework, and maintain defensible results.
Table of Contents
- Why Evidence Degradation Matters
- Core Principles of Forensic Storage
- Packaging and Handling Best Practices
- Segregation, Security, and Contamination Control
- Temperature Control and Cold Chain Best Practices
- Humidity, Light, and Other Environmental Conditions
- Continuous Monitoring and Documentation
- Inspection, Maintenance, and Preventive Checks
- Incident Response: What to Do When Conditions Drift
- Bottom Line
Why Evidence Degradation Matters
In forensic work, evidence isn’t just collected, it’s preserved so that testing remains reliable and results remain defensible. When evidence degrades, labs may face reduced sensitivity, ambiguous findings, re-testing, or limitations that ripple into case timelines. Just as importantly, storage issues can create credibility problems during audits or testimony, even when the science is sound.
Preventing degradation is therefore both a scientific priority and a risk-management strategy: protect the sample, protect the result, protect the case.
Core Principles of Forensic Storage
While each evidence type has unique requirements, strong forensic storage programs typically share a few principles:
- Stability: Minimize fluctuations in temperature, humidity, and handling.
- Separation: Reduce cross-contamination and preserve trace integrity.
- Security: Maintain chain of custody and limit access.
- Standardization: Use consistent SOPs, labeling, and workflows across teams and shifts.
- Documentation: Keep clear, time-stamped records of conditions and events.
The more predictable your storage environment and process, the fewer surprises you’ll encounter later.
Packaging and Handling Best Practices
Forensic Packaging is the first line of defense against degradation. The goal is to protect evidence from moisture, heat, physical damage, and contamination while preserving whatever will later be tested.
Dry before you store (when applicable)
Moisture can accelerate biological degradation and encourage microbial growth. For many biological items, appropriate drying (based on SOPs) before long-term storage helps preserve integrity and reduces mold risk.
Choose the right container for the evidence type
- Breathable packaging (for certain biological items) can reduce trapped moisture.
- Sealed containers can protect from ambient humidity and external contaminants when sealing is appropriate.
- Secondary containment helps prevent leaks and cross-contact inside shared storage.
Avoid “one-size-fits-all” packaging. Match the container to the evidence and the storage environment.
Limit handling and repackaging
Every transfer introduces risk: temperature change, condensation, contamination, and paperwork errors. Use consistent workflows that minimize unnecessary movement and clearly define who can access what and when.
Segregation, Security, and Contamination Control
Storage design can help prevent contamination and protect chain of custody—especially when labs manage high case volume or multiple disciplines.
- Segregate by evidence category (for example, biological vs. chemical vs. trace) to reduce cross-risk.
- Separate pre- and post-analysis items when re-contact could create confusion or contamination concerns.
- Use clear labeling and barcoding to reduce misplacement and ensure accurate retrieval.
- Control access with role-based permissions and documented entry where required.
A well-organized evidence room reduces both degradation risk and time wasted searching, relocating, or re-documenting items.
Temperature Control and Cold Chain Best Practices
Temperature is one of the most common causes of preventable degradation because failures can happen quietly and quickly. Cold chain management is more than having a freezer, it’s controlling how evidence moves, how long it sits out, and how quickly you detect issues.
Validate storage requirements by evidence type and method
Different samples, extraction products, and reagents may have different requirements. Align storage setpoints and acceptable ranges with SOPs, validation studies, and manufacturer guidance where relevant.
Reduce temperature cycling
- Limit door-open time and unnecessary access.
- Organize shelves/bins so items are easy to retrieve quickly.
- Use designated “working” storage to avoid repeatedly warming long-term items.
Plan for after-hours coverage
Nights, weekends, and holidays are when small problems become big ones. Remote alerts and clear escalation paths ensure someone can respond before an excursion becomes evidence loss. Consider a remote temperature monitoring system by Swift Sensors.
Humidity, Light, and Other Environmental Conditions
Temperature often gets the spotlight, but other environmental factors can matter depending on evidence type and storage layout.
Humidity control
High humidity can accelerate corrosion, promote microbial growth, and affect paper-based evidence or packaging. Extremely low humidity may increase static risk for certain trace evidence handling. Monitoring humidity in evidence rooms and sensitive lab spaces helps maintain consistent conditions and supports investigation of issues.
Light exposure
Some materials degrade with prolonged light exposure. Where relevant, store items in opaque containers or controlled-light environments, and limit exposure during handling.
Air quality and ventilation
Dust, fumes, and airborne particulates can create contamination risk for trace evidence and contribute to equipment maintenance issues. Clean storage areas and appropriate ventilation support both evidence integrity and staff safety.
Continuous Monitoring and Documentation
Manual checks provide snapshots. Continuous monitoring provides a full story—especially critical when conditions change quickly or staff aren’t present. A strong monitoring approach typically includes:
- Continuous temperature logging for refrigerators, freezers, cold rooms, and evidence rooms as needed
- Real-time alerts to notify staff before excursions cause damage
- Audit-ready reports that show conditions over time and flag exceptions
- Role clarity so QA, lab leadership, and facilities each know how to respond to alarms
Documentation should also capture what happened during an incident: who responded, what actions were taken, and what disposition decisions were made (for example, relocating materials, evaluating impact, or documenting an acceptable short excursion per policy). Click to learn more about instant alerts and automated temperature logs.
Inspection, Maintenance, and Preventive Checks
Evidence storage reliability improves when equipment is treated as mission-critical infrastructure, not just “appliances.” Preventive maintenance helps reduce sudden failures and extends equipment life.
- Inspect door gaskets and seals regularly; replace when worn.
- Keep condenser coils clean to maintain efficient cooling and avoid overheating.
- Check door alignment and self-closing mechanisms, especially in high-traffic areas.
- Review temperature trends for early warning signs of compressor or control issues.
- Maintain backup capacity for critical storage (spare space or contingency units).
Trend data is especially helpful because it can show gradual drift weeks before a unit fails outright.
Incident Response: What to Do When Conditions Drift
Even with good controls, excursions can happen. The difference between a minor event and a major incident is response speed and documentation quality. A simple, repeatable incident response plan should cover:
- Immediate triage: Confirm the reading, check door closure, and assess unit status.
- Protect evidence: Relocate items if needed to validated backup storage.
- Notify stakeholders: QA, lab leadership, facilities, and any on-call personnel per escalation policy.
- Document the event: Start/end time, peak deviation, suspected cause, actions taken, and follow-up steps.
- Evaluate impact: Determine whether evidence integrity may be affected and what additional steps are required.
- Correct and prevent: Fix the root cause and update procedures if needed.
The goal is not perfection; it’s controlled response, clear records, and continuous improvement.
Bottom Line
Preventing evidence degradation is a combination of smart packaging, controlled environments, disciplined handling, and continuous documentation. The labs that consistently reduce risk are the ones that treat storage conditions as measurable, monitorable variables—not assumptions. With standardized best practices and real-time monitoring, forensic teams can protect evidence integrity, improve operational efficiency, and strengthen the defensibility of every case that passes through the lab.